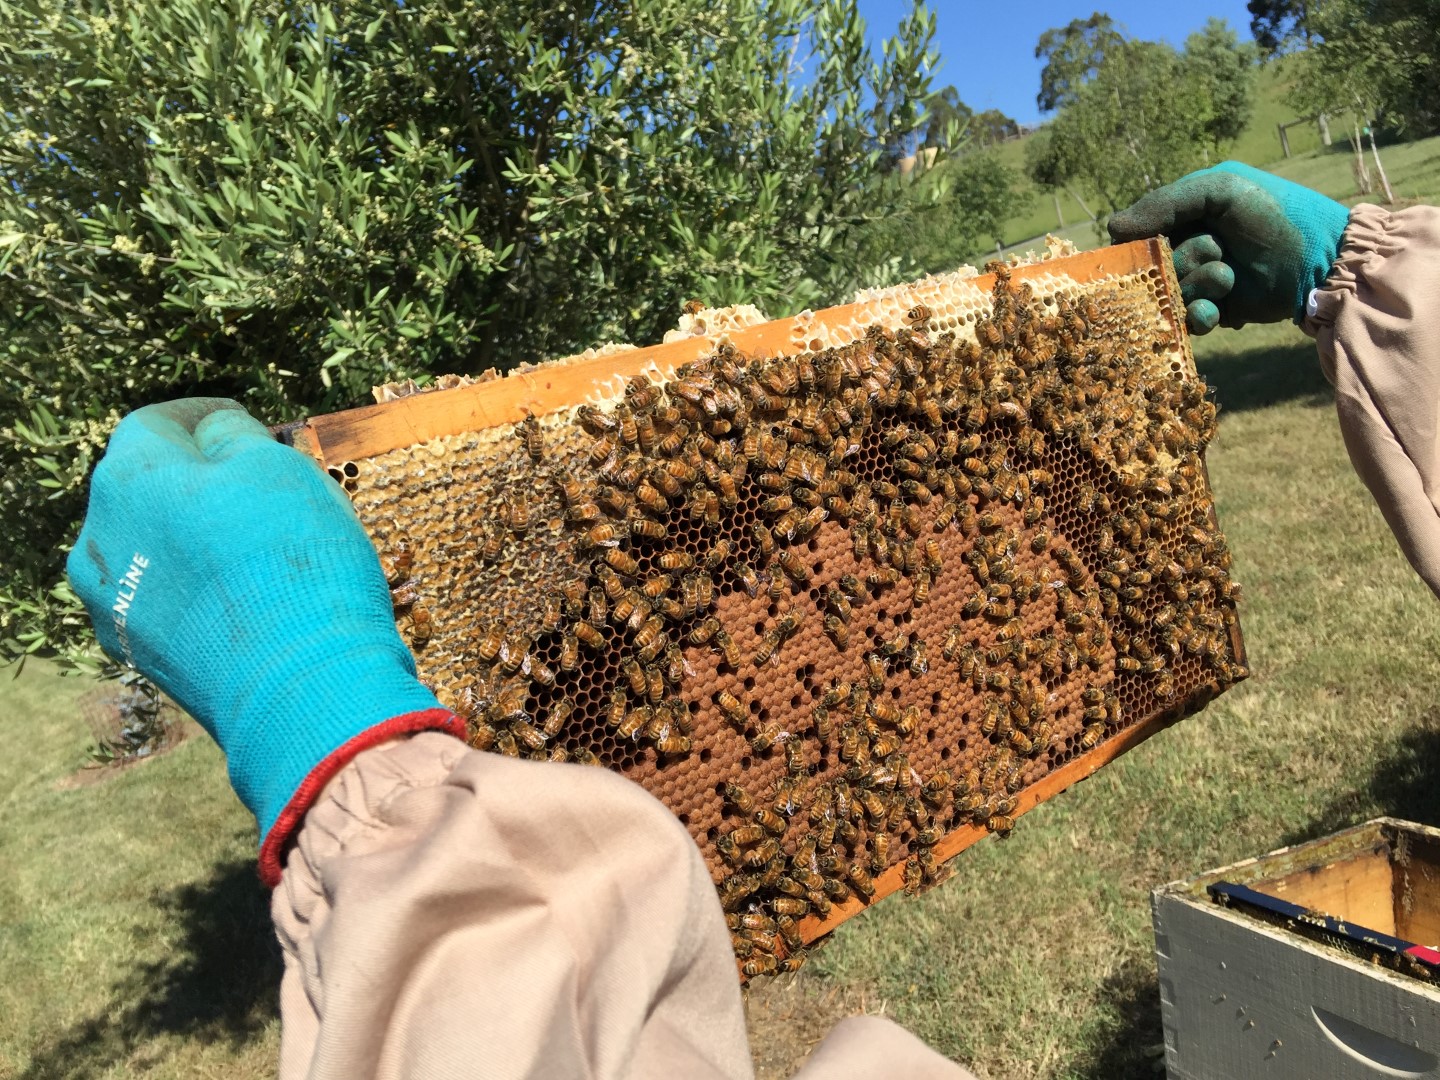
Anna’s released her inner apiarist. The bees are hard at it. We’re working on the website which will be up soon. Link here: Buukaar Waaruung
Anna’s released her inner apiarist. The bees are hard at it. We’re working on the website which will be up soon. Link here: Buukaar Waaruung
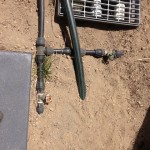
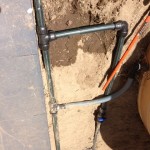
The thing about things is that they inevitably require maintenance. Whilst admiring my plumbing handiwork, I noticed a suspiciously damp patch in the sandstone.
And dig. And repair.
I discovered from Arky that Fryerstown held a fairly sizable antique fair. Sensing the opportunity to pick up and restore some old hand tools. Sarah and I now have a hankering since building Windsor chairs by hand.
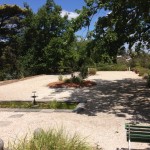
Having spent the afternoon in Fryerstown for day one (the best day apparently), we spent some time in Castlemaine. The historic house Buda gave us some gardening inspiration, if only our land were flat.

Another day done. The wetland continues to recede.

My grand water plan takes shape. A single tank at the top of the paddock with a drop of approximately 20 metres to the house provides adequate water pressure with no need for electric pumps or pressure tanks.
The slope from the tanks down to where the drain box is is an issue as the level is too steep for a stable base with the potential issue of subsidence and undermining of the closest tank. Continue reading Drainage box take 2
Something I had not fully considered was that by extending the curvy jig in the way I had, I created some rather large void spaces which no longer exerted any pressure on the clamped veneer boards. The result being Continue reading Curved front jig – take 3
I’d made a rather thin box for drain extension purposes last year, whilst waiting for other things to glue, dry, etc. In the meantime I discovered Continue reading Whilst waiting for glue to dry
Using the CNC machine, one of the other students had created a fairly hefty curved front jig which I repurposed to created my curved fronts. The issue being Continue reading Curved front jig
Things got really busy again but the serenity of chair making (to the exclusion of all else) has descended again. Continue reading Windsor Chair finishing touches