Tag Archives: SWTAFE

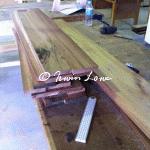
Blackwood shelves timber dressing

It astonishes me how tasks scheduled for shed time expand to fill and exceed normal time. perhaps some dimensional instability bleeding out from the TARDIS? The thing about making something well is that it takes time. Changing the task to involve labor saving devices (power tools and jigs) only gives the illusion of saved time for what it actually does is shift 90% of your effort from doing to preparing.

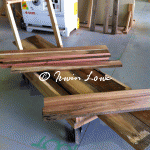
Thus my whole day is spent preparing, making sure that all my planks are the same width and thickness. This is something I learnt during the TARDIS window construction because you really want all components identical (or near as) so that future machining, jigging & fitting can be performed in single actions.

Blackwood shelves

My new project includes curves. I neglected to pass muster for a curvy construction last year as the TARDIS didn’t really have any in it. Just like my second year organic chemistry exam where I knew the molecular structure of all the vitamins except that the examiners didn’t ask it, so too I think I strove too high with the TARDIS…

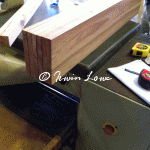
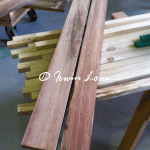
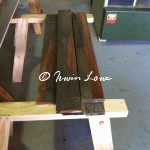
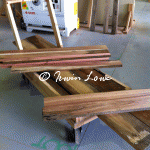
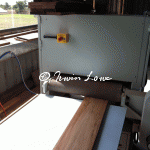
So, I sourced some blackwood from Smiths Sawmill in Naringal and spent the last couple of classes dressing it up. It is magnificent timber and if you’d asked me before I knew, I’d have said that any grey timber was probably only fit for firewood. But trim away a bit, square it up on the buzzer, make it parallel on the thicknesser and then smooth it through the drum sander and my gosh the results!

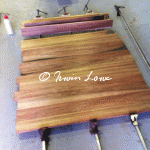
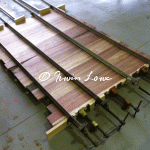
I had to glue up some smaller planks to make wider ones for shelves. the start of my curvy project looks a little square right now…

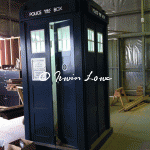
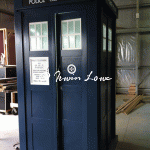
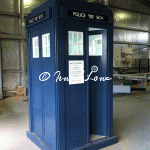
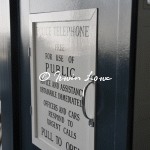
TARDIS- St John’s logo

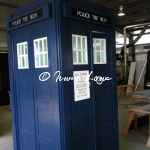
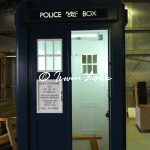
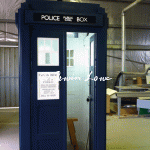
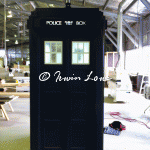
In my head, I couldn’t really conceive when I started of a point when the TARDIS would be done. Now however, my fortuitous forgetting of the St John’s logo when I had the other signs made up has lent me the signal for completion. I was tossing up whether to actually include it or not but since the design is (mostly) based on the 1963 pilot prop, St John’s logo it had to be.

And so, the crowning moment.

TARDIS: Light em up!

The end of time approaches! I had to change my TAFE day due to other commitments and so was quizzed by a teacher as to why I was there a day early. I responded that I was actually here on the correct day but that I’d travelled back in time a day.

Boom. Tish.

The lighting is killing me. I’d finished the soldering last week (no pics as nothing new to show) and discovered that my 24v transformer wasn’t supplying the juice to run 100 Xmas buds as well as the window and sign lights.

Some snipping and re-soldering later showed that my wiring was correct but I didn’t have enough power. On closer inspection (bringing in my trusty multimeter), the Xmas lights ran off a 24vac transformer supplying 12vdc to each string (2 strings of 50 for sparkly patterns) and supplying 600mA which explained the non starter.

Brushing up my high school electronics, I decided for the time and effort it would take (and I am keen to get onto the next project) to abandon the coordinated single string of window sign and lantern lights and to run them separately off their own transformers.

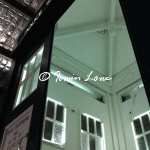
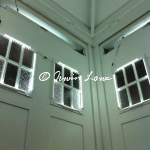
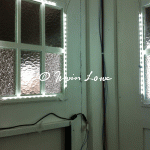
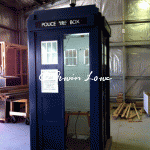
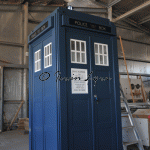
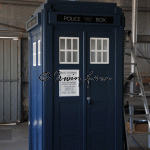
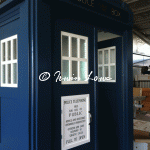
Bright lights! I’m happy that the LED lighting is clearly visible in the bright light of day.

I left it wired up and running to test and then had a chat to teacher Pete about my next project. He asked if the TARDIS was supposed to be flashing to which I answered ‘not deliberately’. I’m channelling Jon Pertwee here with the wires and the flashing and the smoke…

The 24vdc 1.25a regulated power supply I’d sourced from Jaycar turned out to not be supplying enough power for the string of 25 led strips (bright for a while and then flash flash bzzpt and a very hot transformer) so have sourced a higher rated supply.

Will try the higher rated supply next week and see what happens. Meanwhile, have (hopefully) sourced a heap of blackwood for the next project.
Soldering on

Deep breath time, I still haven’t received the balance of LED strips so cannot complete the project today. I’ve devoted the time to cleaning up what is there. I decided to cannibalise two good strips to replace the sections of defective strips while I had the time. Also I thought I’d remove the clunky (but convenient!) joiners and replace them with some cut to size self soldered (nice looking) joins.

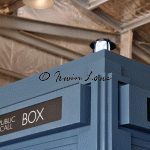
I also thought I’d have a go at mounting and wiring the lantern while I had the time. Done, the height of the lantern doesn’t quite give me the look I was hoping for so I’m going to put some extra thought into that. I think it’s too tall proportionally speaking (a design feature of using a bollard light).

Wiring wise, the Christmas LEDs have come up a treat. I’ve also worked out that there are 2 sets of LEDs to give various strobing effects coming from the controller. A small amount of tinkering & I discovered a way to wire up each side of the TARDIS separately so that the strobes will be coordinated.

TARDIS lighting

It’s been a while since I’ve had to remember wiring, soldering, & basic DC stuff. Luckily the prefab LED light strips come prewired & with rather obvious + and – polarity indicators on the printed circuit boards, so it’s just really up to me to ensure I get the polarity (of the neutron flow!) correct.
Dissapointment number two with regards to the LED purchase is the number of defective LED strips that Jaycar sold me. I’d already opened and chopped up to size the strips, so no hope of getting a refund there. Had I looked closer and took notice when I opened each sealed pack, it would have jumped out at me that a couple of packs were already opened and taped back up (instead of being heat sealed), and the PCB solder points looked like somebody had already had a go. Damn.
Still dealing with disappointment number one (being short sent a good number of strips) and still waiting for the balance to arrive. I’ve powered up as I’ve gone along to make sure that (barring defective strips) at least I’ve got the wiring correct.